
I was running TFS 2013 Update 4 on top of SQL Server 2012 SP3 and was unable to upgrade to TFS 2017 because this version of the SQL database is not supported. So, I ran the SQL Server 2016 installer from the ISO and used the SQL Upgrade tool.
I then uninstalled SQL Server 2012 by double-clicking on the “Microsoft SQL Server 2012 (64-bit)” entry in Control Panel’s Programs and Features and selecting “Remove”. I clicked the “Select All” button, clicked the Next button, clicked the Next button, and lastly clicked the “Remove” button. This started the uninstall of SQL Server 2012.
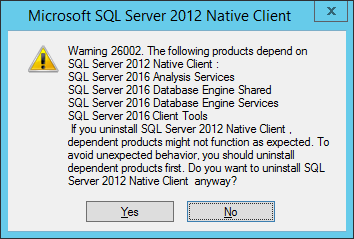
Note that I did not uninstall Microsoft SQL Server 2012 Native Client. When I attempted to do so, I got the following dialog box:
Then I installed TFS 2017 from the ISO and ran the Team Foundation Server Configuration Wizard.
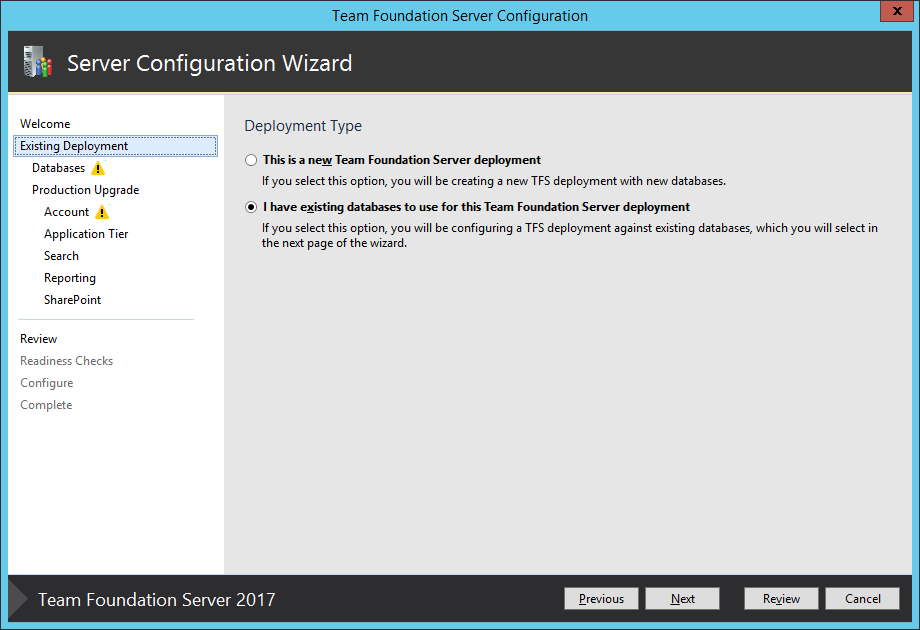
I selected “I have existing databases to use for this Team Foundation Server deployment” and clicked Next.
Then I selected my (only) SQL Server Instance, selected my (only) database, and checked the box stating that I have a current backup. Make sure you do before proceeding! I then clicked Next.

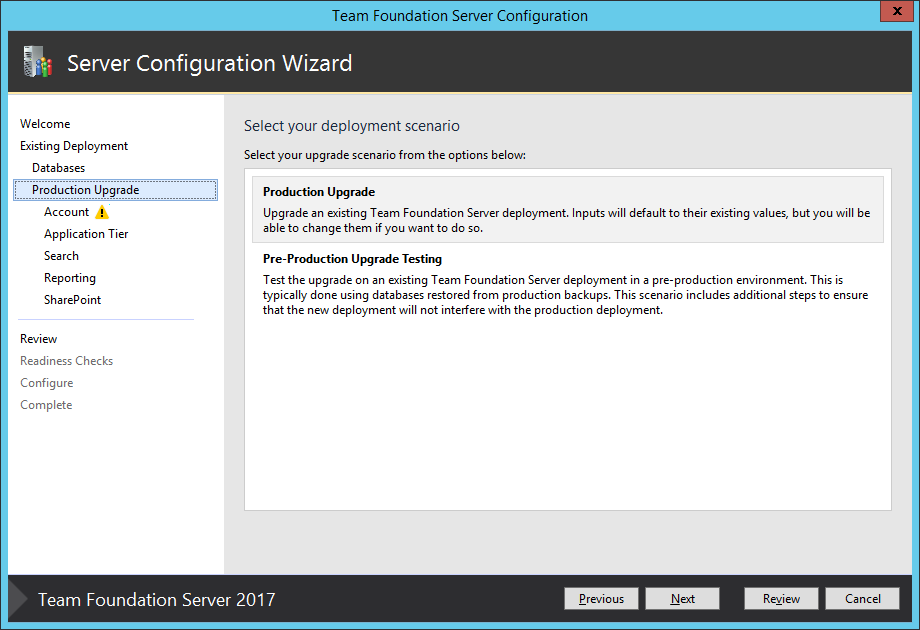
Then I selected “Production Upgrade” and clicked Next.
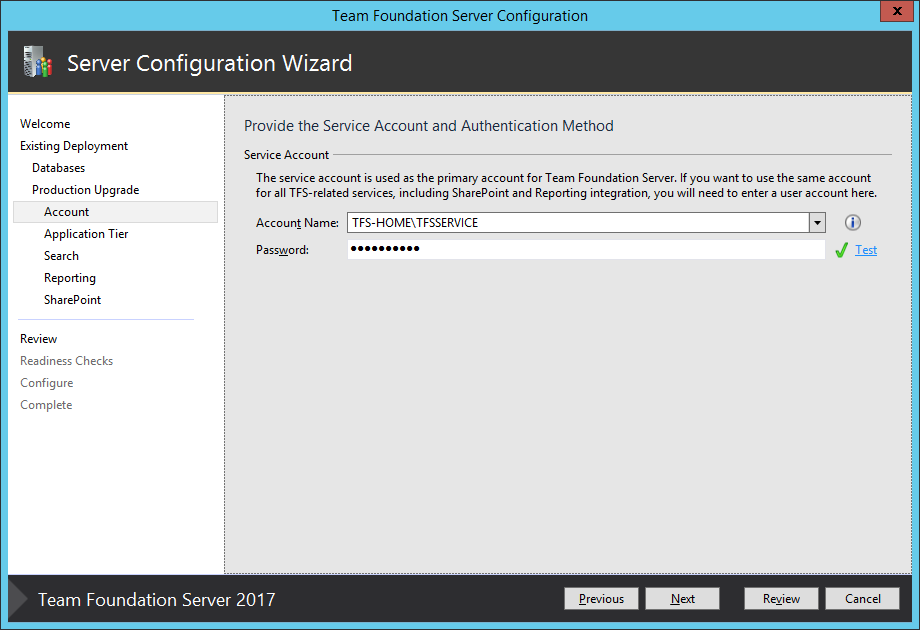
Then I entered the service account name under which the TFS Windows Service will run. Click the Test link to make sure you have the password correct before proceeding. Click Next.
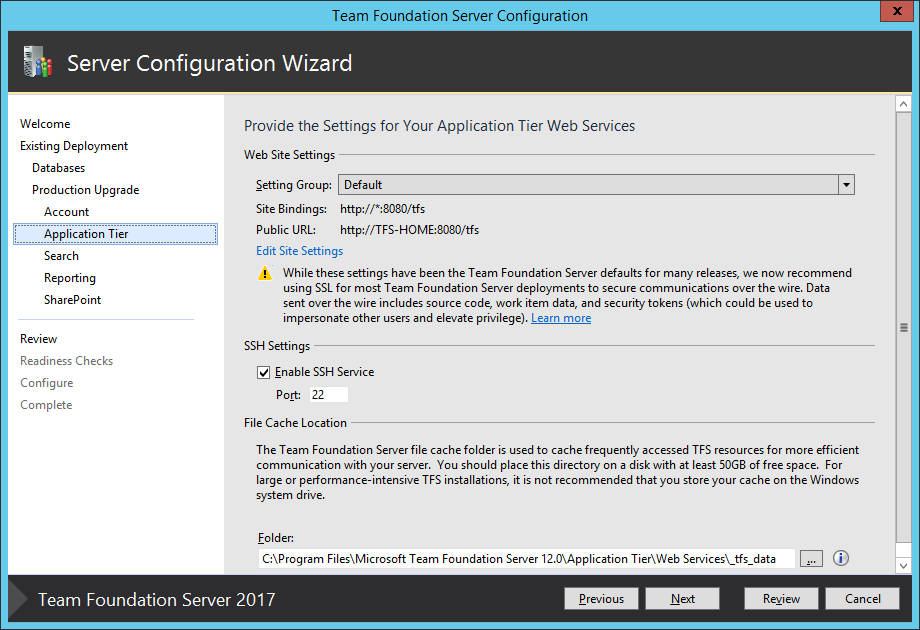
You may now wish to update your website settings to use SSL/TLS so that web-based connections to TFS are secure. I did not, so I accepted the existing values. You can also check the box to enable SSH (Secure Shell) connections to TFS; it was checked by default for me. You may also update the location of the File Cache used by TFS. Click Next.
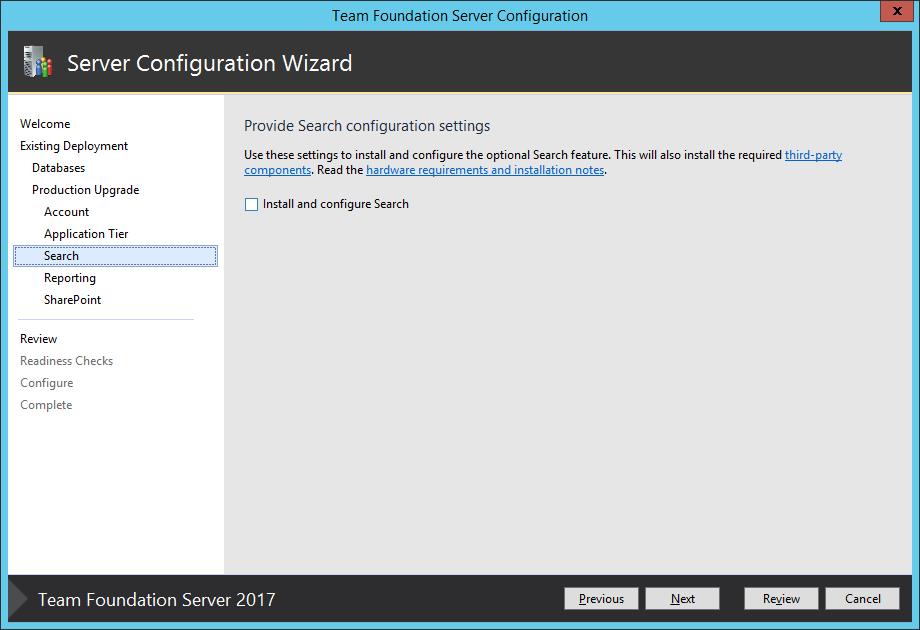
The next step allows you to enable Search across your repositories. It defaults to unchecked; I chose not to install it at this time. You can always install it later. Click Next.
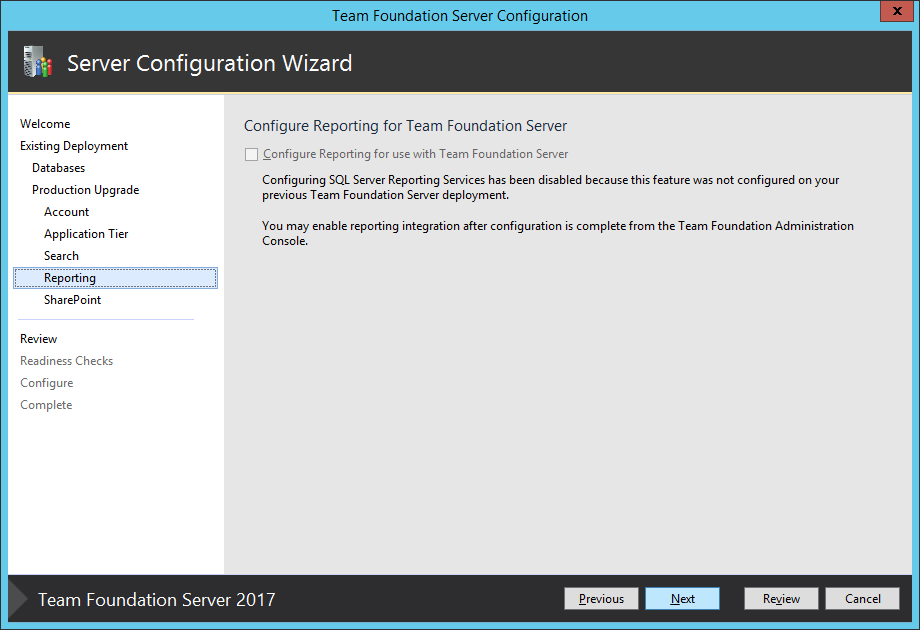
You may now configure reporting for TFS. I didn’t have it installed before, so configuring it now was not an option. Click Next.
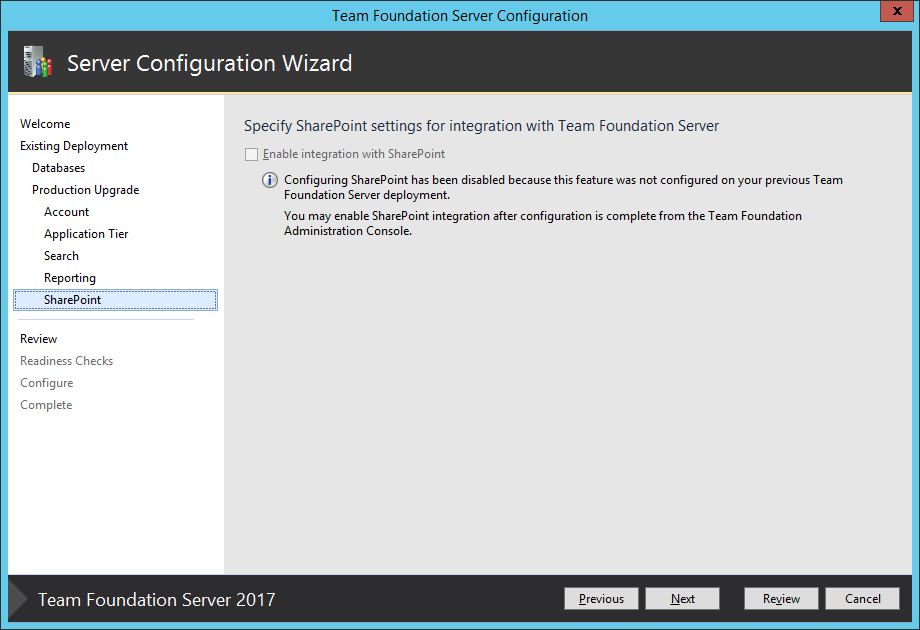
You may now configure SharePoint for TFS. I didn’t have it installed before, so configuring it now was not an option. Click Next.
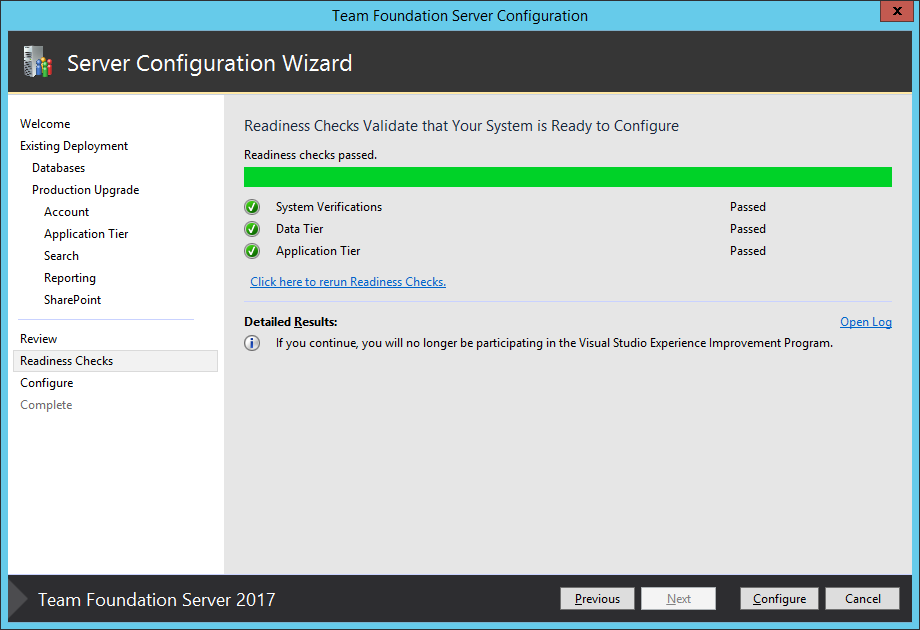
You are now presented with the Settings Confirmation page. You may click the Verify button or just click Next. I clicked Next. It will automatically run through the verification process.

If everything verifies as successful, you will see a screen similar to the following. If all was successful, click Configure to Upgrade your previous installation of databases and TFS to 2017.
Rob
This post was migrated from https://blogs.msdn.microsoft.com/rob/2016/12/22/upgrading-from-tfs-2013-to-tfs-2017/.